Where to Place a Polo Shirt Logo: Positions, Size, and Tips

Understanding Polo Logo Placement
The standard answer to what side is the polo logo on is the left chest. For most polos, place the logo on the wearer’s left side, near the upper chest area. If you hold the shirt facing you, it will look like the logo sits on your left. This placement is common across corporate uniforms and promotional wear because it reads clearly when people are standing and walking.
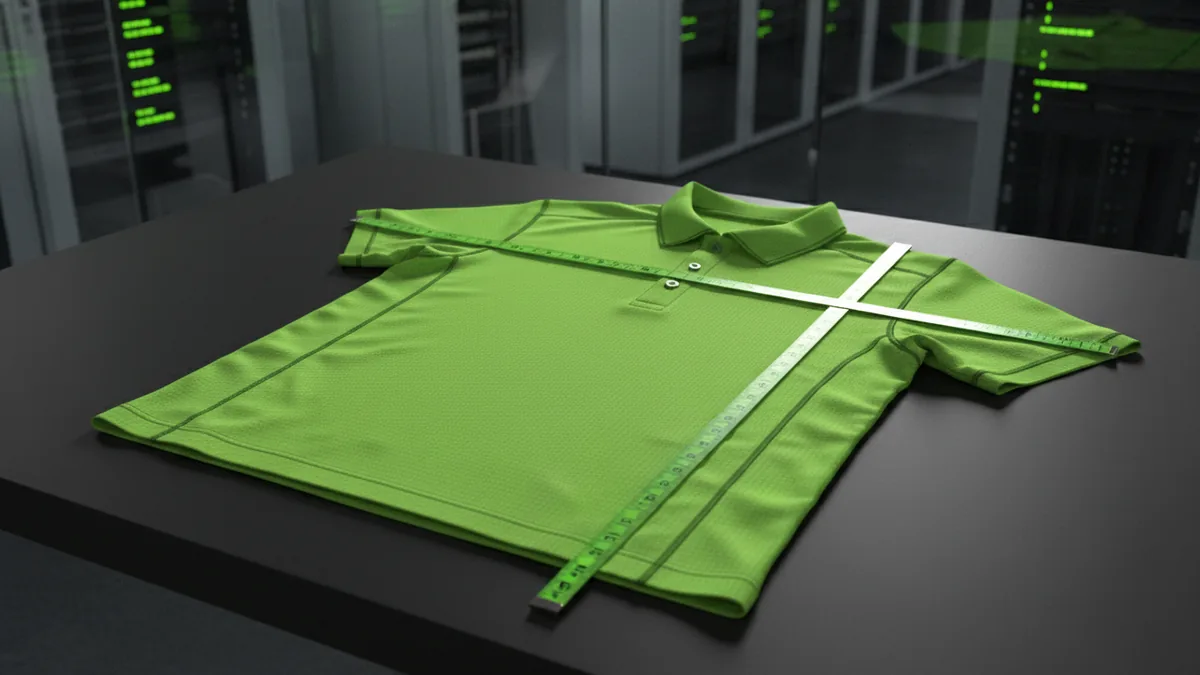
A second part of where to place logo on polo shirt is height and spacing. The usual starting point is about 5.5 to 8 inches down from the left shoulder seam. Then keep the logo roughly 4 to 6 inches from the center line of the shirt. These measurements keep the mark visible without drifting into the sleeve or shoulder roll.
When you plan branding layouts, treat the polo like a frame. The collar area, chest width, and sleeve shape all change how a logo “lands” visually. Your goal is a consistent look across sizes, not just correct placement on one sample size.
Standard Logo Positions for Polo Shirts
Most polos use a chest logo because it fits the shirt’s natural viewing angle. Still, there are valid alternatives when you need more branding space or a different visual rhythm. Below are practical options that keep the shirt looking balanced.
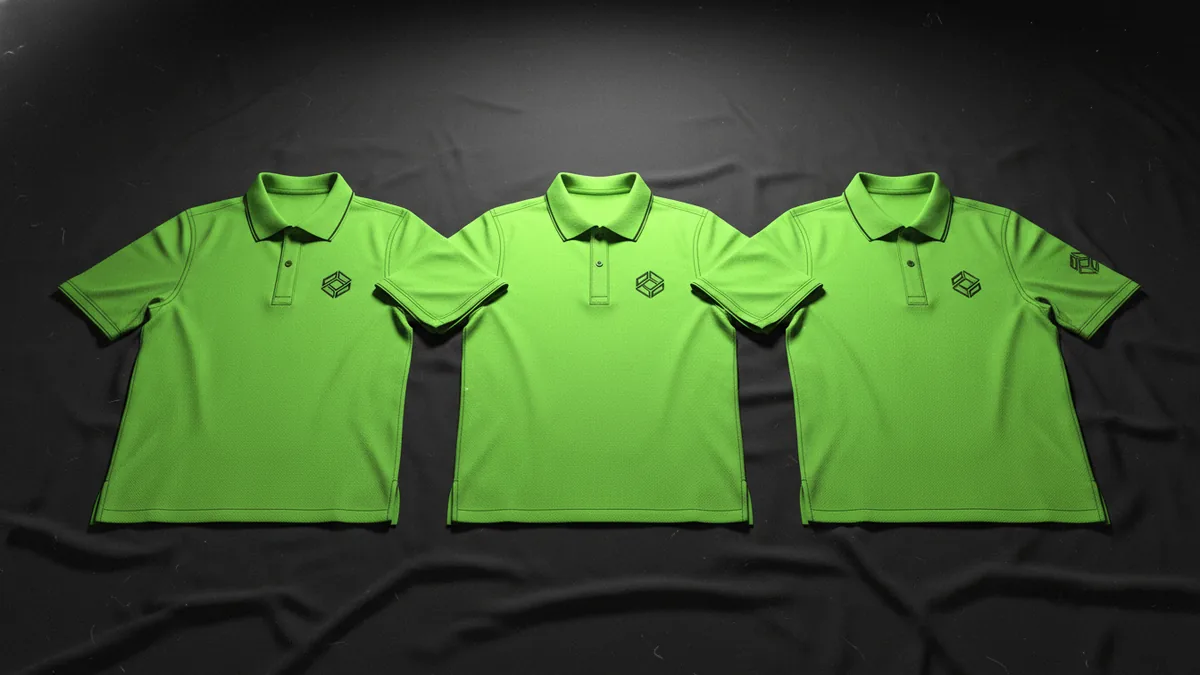
- Left chest (most common): The default for professional branding. Use the left-chest height and spacing ranges described earlier.
- Right chest: Common for partner logos, secondary marks, or awards. Mirror the same height range, but on the opposite side.
- Left or right sleeve: Often used for sports team apparel, event marks, or small department badges. Sleeve logos work best when they stay small and sit flat on the sleeve curve.
- Back logo: Used when you want impact at a distance, like conference or team identity. Back placement is usually centered and sized larger than a chest logo.
Some polos also support special cases like a collar logo. A collar logo can add a premium feel, but it needs careful alignment and testing for comfort. If you are not already set up for tight garment fit checks, stick to chest or sleeve first.
To decide between positions, think about viewing distance. Chest logos are best for close-range reading. Back logos are best for group photos and walk-by visibility. Sleeve logos are best as small accent marks.
Size Guidelines for Polo Logos
When you ask how big should a logo be on a polo shirt, the most reliable range for the left chest is 3 to 4 inches wide. That width typically balances readability and neatness. It also helps keep the logo from looking stretched when the garment fabric pulls slightly.
For the left chest, many brands treat logo width as the “anchor.” Then you adjust height to match the logo’s aspect ratio. If your logo is wider than it is tall, keep the width in the 3 to 4 inch range and let the height scale naturally. If your logo is more square, aim for a width near the middle of the range and test on fabric.
Other positions need different sizing. A back logo is usually larger, while sleeve logos stay smaller to avoid dominating the sleeve curve. As a rule, keep sleeve logos in the smaller end of what you would use for a chest mark, then validate with a trial stitch.
Contextual Considerations for Logo Placement
Placement changes with fit and wearer demographics. For women’s polo shirts, place the logo about 1 inch higher than you would on a men’s polo. This adjustment accounts for differences in chest shaping and how the polo sits across the body. Without it, the logo can drift too low and feel tucked into the mid-torso area.
Consider the shirt’s construction too. Rib-knit collars, different placket depths, and shoulder seams can shift where “the right spot” feels on the body. If the polo has a pronounced shoulder seam or a wider collar stand, measure from the shoulder seam you can actually see, not from a pattern reference.
Also plan for consistent branding across sizes. Larger sizes often have more chest width, so the same fixed position can look slightly off. The clean way to handle this is to keep the same measurement rules and verify with at least two sizes: one smaller and one larger than your main order.
For sports team apparel and corporate uniforms, you may also have multiple logos on one garment. If you run a chest logo plus a sleeve logo, keep spacing generous. You want each mark to feel intentional, not crowded.
Techniques for Accurate Logo Application
Accuracy matters because a polo is curved and stretchy. Precision measurement helps you maintain a professional look across different styles and sizes. Before you stitch or press, do a layout step with tape or a removable marker so you know where the logo will sit on the finished garment.
- Measure from fixed seams: Use the left shoulder seam as your height anchor, then measure down 5.5 to 8 inches. Use the shirt center line to confirm the 4 to 6 inch distance.
- Mark and align: Lightly mark the center point and make sure it matches the intended placement line. Rotate the logo to keep the baseline parallel to the shirt hem when viewed straight on.
- Confirm artwork setup: For embroidery, test the stitch under the same thread and fabric type. For heat pressing techniques, confirm the transfer’s recommended temperature and dwell time for the fabric.
- Run a sample: Test one polo in the same size and fabric blend as your bulk order. Then adjust size or position before you commit.
If your question is how to embroider logo on polo shirt, focus on stability first. Use the right hooping or stabilization so the fabric stays flat during stitching. Poor stabilization can cause puckering, which makes the logo look warped even when your placement is correct.
After applying, inspect the edges and corners closely. Look for pulled threads, misregistration, or distortion where curves exist. If you see stretching, reduce placement “stress” by adjusting hooping tension and re-test.
Common Mistakes to Avoid
Several errors make polo logos look unprofessional even when the design quality is high. The biggest problems usually come from overpowering size, poor spacing, and rushed setup.
- Logo too large on the chest: If the left chest logo exceeds the 3 to 4 inch width range, it can dominate the shirt. It may also wrap visually into the placket area.
- Overcrowded placements: Multiple logos can compete when they are too close. Give each mark its own clear space and avoid stacking everything in the same visual band.
- Wrong height on women’s polos: Not moving the mark about 1 inch higher can make the logo look low. This is especially noticeable in photos.
- Imprecise measurement: Measuring from inconsistent points leads to drift. Use the same seam anchors for every shirt.
- Improper application techniques: For embroidery, weak stabilization can distort the logo. For pressing, incorrect settings can cause peeling or uneven adhesion.
Another frequent issue is baseline angle. If the logo rotates even a few degrees, it can look “tilted” on the body. A short alignment check during setup prevents hours of rework later.
Conclusion and FAQs
For most polos, the logo goes on the left chest. Place it about 5.5 to 8 inches down from the left shoulder seam and about 4 to 6 inches from the shirt center. Keep the left-chest logo roughly 3 to 4 inches wide for a clean, readable look. If you are working on women’s polos, move the logo about 1 inch higher.
To keep everything consistent, measure from the same seams every time. Align the logo centerline and baseline before you stitch or press. Then run a sample on the same fabric and size as your bulk order. This approach protects your logo sizing decisions and helps your branding look sharp.
FAQs
What side is the polo logo on?
It’s usually on the wearer’s left chest. If you face the shirt, that means your left side.
Where to place logo on polo shirt?
Start with left chest placement. Use the 5.5 to 8 inch drop from the left shoulder seam and the 4 to 6 inch offset from the center line.
How big should a logo be on a polo shirt?
For the left chest, aim for 3 to 4 inches wide. Keep height proportional to maintain the logo’s shape.
How to embroider logo on polo shirt?
Stabilize the fabric well and align the center point before stitching. Then run a sample to confirm stitch density and avoid puckering.
Can logos go on the sleeve or back?
Yes. Sleeve marks are best small and aligned to the sleeve curve. Back logos work well as larger, centered marks for distance visibility.
Do women’s polos need different logo placement?
Yes. Place the chest logo about 1 inch higher than you would on men’s polos for a better fit look.
Frequently asked questions
What side is the polo logo on?
Most polos place the logo on the wearer’s left chest. If you face the shirt, it appears on your left side.
Where to place logo on polo shirt for the best look?
Use the left chest as a starting point. Place it about 5.5–8 inches down from the left shoulder seam and 4–6 inches from the shirt center line.
How big should a logo be on a polo shirt?
For the left chest, aim for about 3–4 inches wide. Keep the height proportional to your logo artwork.
How to embroider logo on polo shirt without distortion?
Stabilize the fabric well and align the design center before stitching. Run a sample first to confirm stitch density and avoid puckering.
Can a polo logo go on the sleeve or back?
Yes. Sleeve logos should be small and match the sleeve curve, while back logos are typically larger and centered for distance visibility.
Do women’s polo shirts need different logo placement?
Yes. Position the chest logo about 1 inch higher than you would on men’s polos.