How to Bleach Tie Dye a Shirt With a Logo
Learn how to bleach tie dye a shirt with a logo. Get materials, steps, timing, neutralizing, and safety tips for logo-safe results.
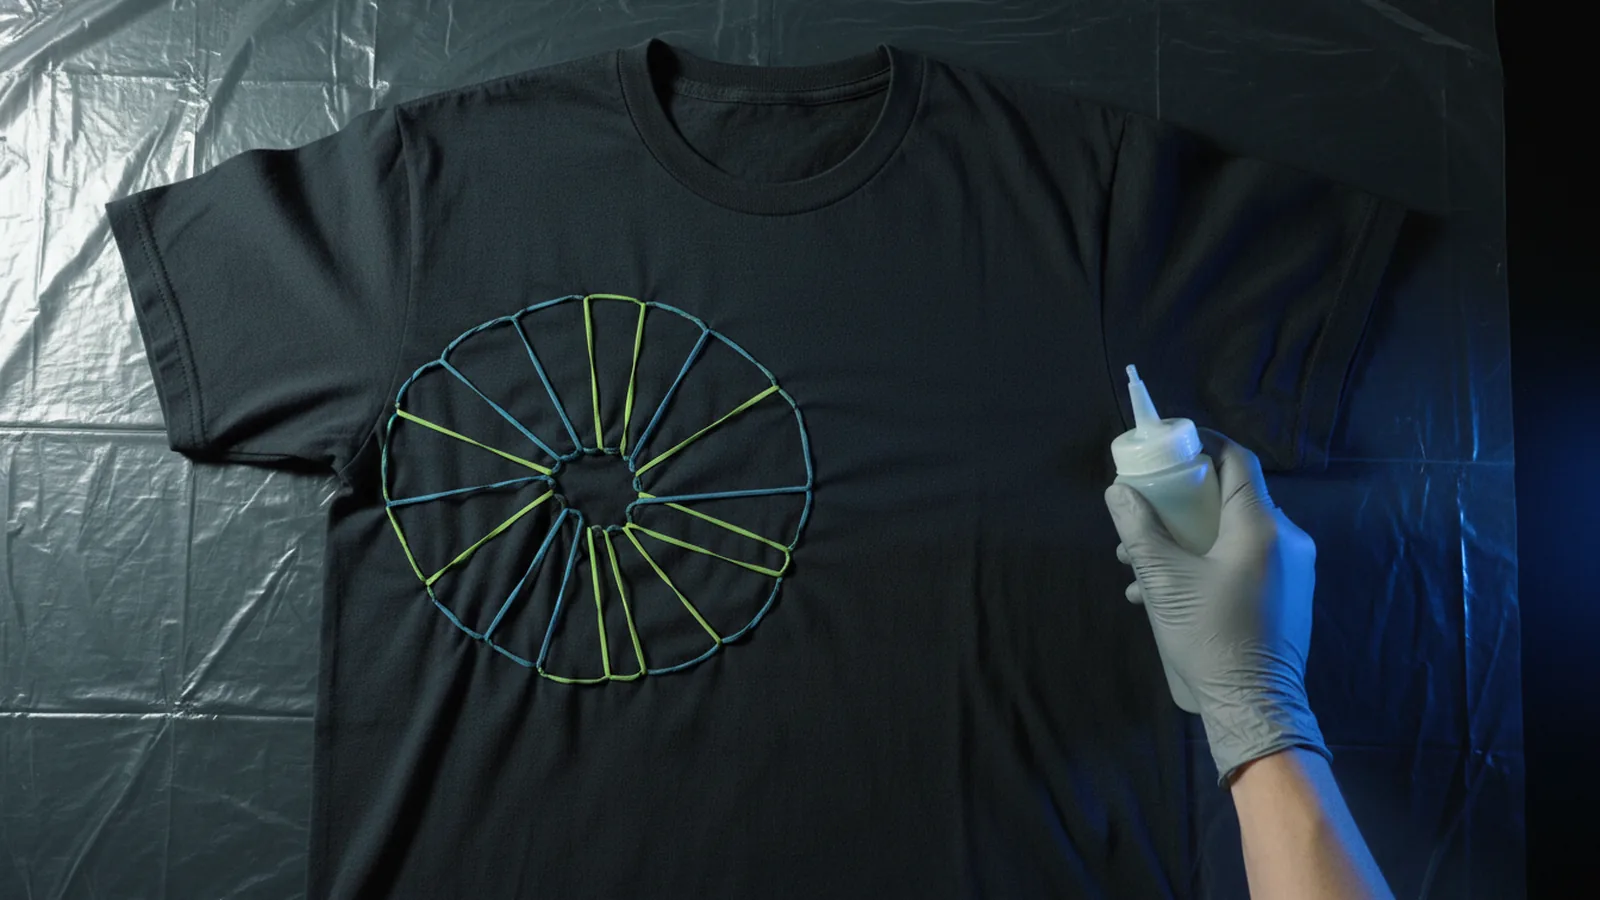
Understanding bleach tie dye (color removal, not color adding)
If you want a light design on a dark shirt, the direct answer is this: bleach tie dye works by removing color. You apply a bleach solution to fabric, then neutralize it so the reaction stops.
This matters for logos. Bleach does not “print” color. It attacks dyes and pigments where it touches, so logo areas can fade unevenly.
Bleach tie dye is also usually best on darker fabrics. Dark cotton gives clearer contrast. On light or already-faded fabric, you may only get mild changes.
- Goal: create a pattern via twist and binding, then remove dye where you want highlights.
- Result: lighter spots that match your control over contact and timing.
- Best fabric: 100% cotton for the most predictable response.
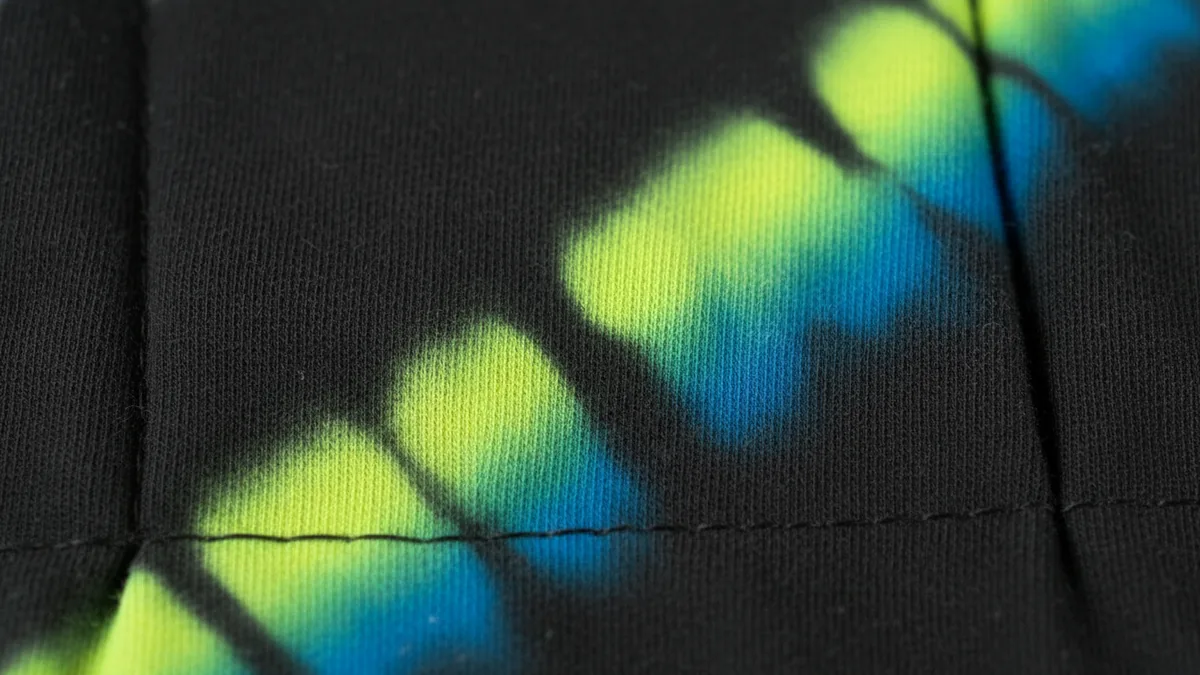
Materials needed for bleach tie dye a shirt with a logo
Start by gathering materials that support safety and even coverage. For the bleaching stage, consistency beats improvising. Use measuring cups and keep the bleach solution fresh.
You will need a plain workspace with good airflow. Avoid doing this near open flames or in small, closed rooms. Tie dye can be messy, and bleach splashes are hard to fix.
- Shirt: 100% cotton shirt (pre-washed, no fabric softener)
- Bleach solution: household bleach and cool water (use a ready-to-measure recipe)
- Neutralizing solution: hydrogen peroxide solution
- Pattern tools: rubber bands, plastic wrap, and plastic squeeze bottles
- Safety gear: nitrile or rubber gloves, protective eyewear, and old clothing
- Prep items: large sink or tub, measuring cups, and paper towels
- Washing items: mild detergent and a clean bucket for rinsing
Note on blends: bleach tie dye often works less evenly on polyester or cotton blends. Some blends resist bleach or react differently across fibers. That can blur your tie dye patterns, including around your logo.
For “reverse” results like lighter designs on darker fabric, bleach is the right tool. For “dye” results, you would use fabric dye instead. This guide stays with bleach tie dye technique and color removal.
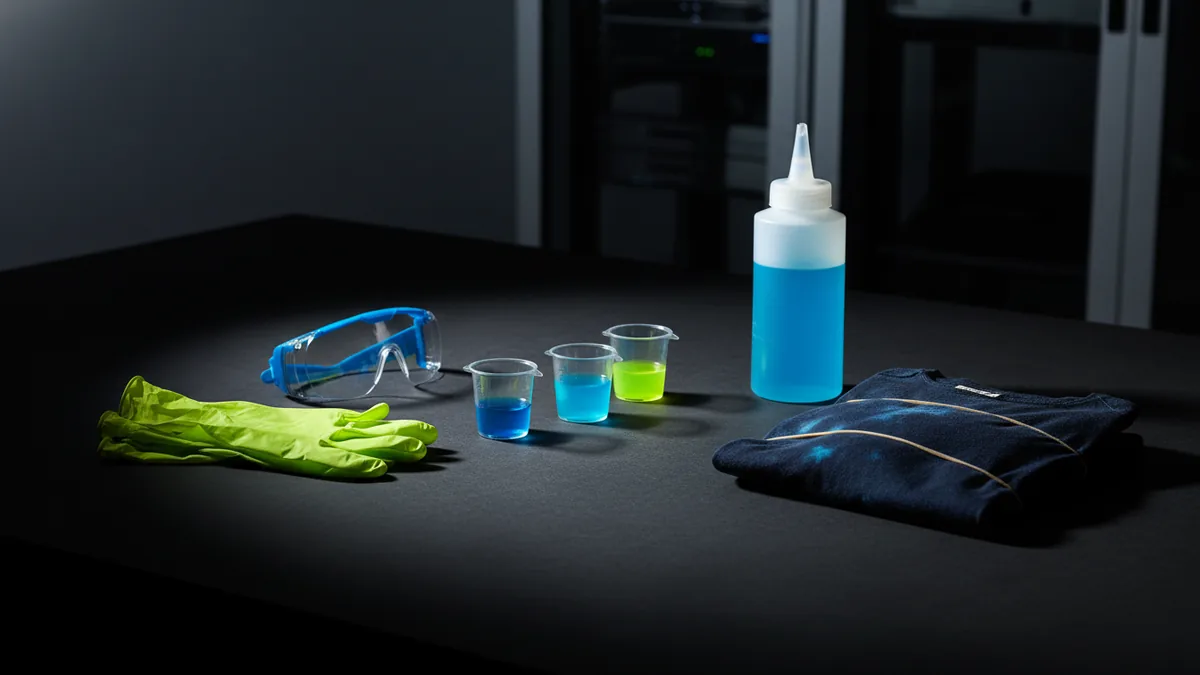
Preparing the shirt: fabric preparation and logo-safe planning
Preparation is where most mistakes happen. Wash the shirt first to remove sizing, oils, and finishes. Then let it dry fully so the bleach solution spreads predictably.
Next, plan your logo approach before you twist anything. If you are learning how to tie dye a shirt with a logo, decide whether the logo should be protected, partially altered, or intentionally distressed.
Two practical options work well. You can keep the logo zone separate from bleach contact, or you can apply bleach only to areas that do not touch the logo dye layer.
- Choose a logo strategy: protect it, or accept controlled fading.
- Pre-wet lightly (optional): a lightly damp shirt can give smoother spread, depending on your fabric.
- Mark boundaries: use tape to block edges you want to keep darker.
- Plan your tie dye patterns: rubber bands should sit where you want natural color breaks.
If you are trying how to dye clothes without dying logo, the same logic applies. The logo is a sensitive area. You must reduce bleach contact if you want a cleaner logo look.
- Protect: cover logo with plastic wrap and secure it tight.
- Isolate: keep logo in a bound section with minimal bleach reach.
- Accept aging: expose the logo and monitor carefully for even fading.
Bleaching techniques: patterns, timing, and even contact
To create tie dye patterns, twist and secure sections with rubber bands. This gives you control over where bleach solution can reach. When you apply bleach to the bound shape, you get high-contrast edges.
Here is the core technique for how to bleach tie dye a shirt with a logo. Twist a section away from the logo first. Secure tightly with rubber bands. Then apply bleach solution to the exposed fabric only.
Bleaching time is not fixed. It usually takes 5 to 20 minutes depending on fabric density, shirt thickness, and how dark the original color is. Start short. Monitor the color change every minute or two.
Create the pattern by binding
Use a consistent twist so the bleach exposure is even. For sharper shapes, tighten rubber bands closely together. For softer effects, use fewer bands and allow more fabric movement.
- Spiral effect: twist the fabric into a tight spiral, then band around the spiral.
- Chunky bursts: pinch small sections, stack them, then band tightly.
- Edge frames: wrap bands near the boundary you want to protect.
Apply bleach carefully
Use a squeeze bottle for precision. This helps when you are learning how to tie dye around a logo. Apply bleach solution from one direction so it does not run into protected areas.
Keep the bleach off parts you wrapped or taped. If bleach touches protected areas, it can still creep under loose plastic. Press and seal the barriers firmly.
As you work, wear gloves and protective eyewear every time. Work in a well-ventilated area. Bleach fumes can irritate eyes and lungs, even when the solution is diluted.
Watch the color removal
Monitor continuously. If you see the dark dye turning light brown or pale yellow, you are close. That is usually the best moment to stop and neutralize.
Do not assume “lighter will always look better.” Over-bleaching can create patchy, thin fabric highlights. It can also change the logo area you meant to preserve.
If you are doing a bleach tie dye technique as reverse tie dye, the same monitoring rule applies. Stop earlier on thin cotton or on already-washed shirts.
Neutralizing and washing: stopping the bleach reaction
Once you reach your desired color change, neutralize the bleach effect immediately. A hydrogen peroxide neutralizing solution is the standard approach for stopping the reaction. This reduces further fading after rinsing.
After neutralizing, rinse the shirt in cool water. Keep rinsing until runoff water looks much clearer. Then wash with mild detergent to remove residue.
- Step 1: apply hydrogen peroxide neutralizing solution to the bleached areas.
- Step 2: rinse in cool water until cleaner.
- Step 3: wash with mild detergent, then air-dry if possible.
Safety matters here too. Neutralizing solutions can still irritate skin. Gloves are still worth wearing during rinsing and washing.
For cotton fabric dyeing, the post-wash outcome is often the real “final color.” Drying can slightly shift the look as water leaves the fibers. Give it time before you judge contrast.
Tips for working around logos: logo preservation techniques that actually hold up
Logo preservation techniques should focus on contact control. Bleach solution spreads along moisture, gravity, and fabric texture. That is why “covering the logo” must be tight and sealed.
First, check the logo material. Many logos use screen-printed inks, heat transfer vinyl, or embroidery. Their colorfastness varies. Some inks fade quickly, others resist longer, and some can crack or peel with harsh treatment.
Now match your plan to your goal. If you are aiming for how to dye clothes without dying logo, protect the logo zone and keep bleach away from edges. If you want a distressed logo look, you still need tight monitoring.
Practical logo protection methods
- Barrier wrap: cover the logo with plastic wrap and tape the edges down.
- Separate sections: tie dye patterns so the logo sits in a low-contact area.
- Edge control: band near the logo so bleach breaks at the rubber bands, not the logo.
- Less dwell: reduce bleach time in logo-adjacent regions.
If you are learning how to tie dye around a logo, do a test first. Bleach behavior on your exact shirt is the only reliable prediction. Try a small hidden area under similar lighting and watch how fast the color removal happens.
Finally, accept that “preservation” is never perfect. Even well-sealed barriers can allow tiny seepage. The best you can do is reduce exposure, monitor closely, and neutralize promptly.
With those controls, you can create strong tie dye patterns while keeping the logo readable. That balance is the real win in how to bleach tie dye a shirt with a logo.
Frequently asked questions
- How long does bleach tie dye take on a cotton shirt?
- Most results happen in about 5 to 20 minutes. Check every minute or two and stop as soon as you like the fading.
- Can I bleach tie dye a shirt with a logo and keep it intact?
- You can protect a logo by sealing it with a tight barrier like plastic wrap. Still, some inks may fade if bleach creeps at edges.
- What fabric is best for bleach tie dye?
- A 100% cotton shirt usually gives the most predictable results. Cotton blends may react less evenly or fade differently.
- Do I need to neutralize after applying bleach for reverse tie dye?
- Yes. Use a hydrogen peroxide neutralizing solution to stop the bleach effect before washing.
- How do I tie dye around a logo without bleaching it?
- Wrap or tape the logo zone tightly, then twist and bind fabric so bleach only reaches the areas you want to fade. Apply bleach with a squeeze bottle to reduce runoff.
Related reading

How to Make a Business Logo: Tools, Tips, and Final Files
Step-by-step logo design: free tools, phone workflows, and final export tips.

How to Make T Shirt Logos: From Idea to Print-Ready Art
Learn how to make t shirt logos, from idea to print-ready design.

How to Create Animated Logo Videos for Free (No Skills Needed)
Create a polished animated logo video for free with online tools.